
This step-by-step guide on “How to Install a Bidet in an Apartment” provides a comprehensive overview of the installation process, highlighting the benefits of using a bidet as a hygienic and eco-friendly option. It outlines the necessary tools and materials required for the installation, along with clear instructions to ensure that you can complete the task efficiently and effectively. Whether you’re a DIY novice or experienced, this guide will equip you with the knowledge needed to enhance your bathroom experience with a bidet.


Gather Your Tools and Materials
Gather all necessary tools and materials before starting the installation process. Ensure you have a bidet attachment or bidet toilet seat ready, as this will be the main component you’re working with. Keep an adjustable wrench and a screwdriver close at hand; these will help you tighten screws and fittings securely. Wrap Teflon tape around the threads of your plumbing connections to prevent leaks, and place a bucket or towel nearby to catch any water that may spill during installation.
Turn Off Water Supply
Locate the water shut-off valve behind your toilet. This valve is typically a small, round or oval handle connected to the water supply line. Turn the valve clockwise until it stops to completely stop the water flow. Verify that the water is off by flushing the toilet and checking for any leaks or spills; this step is crucial to prevent any mess during installation.
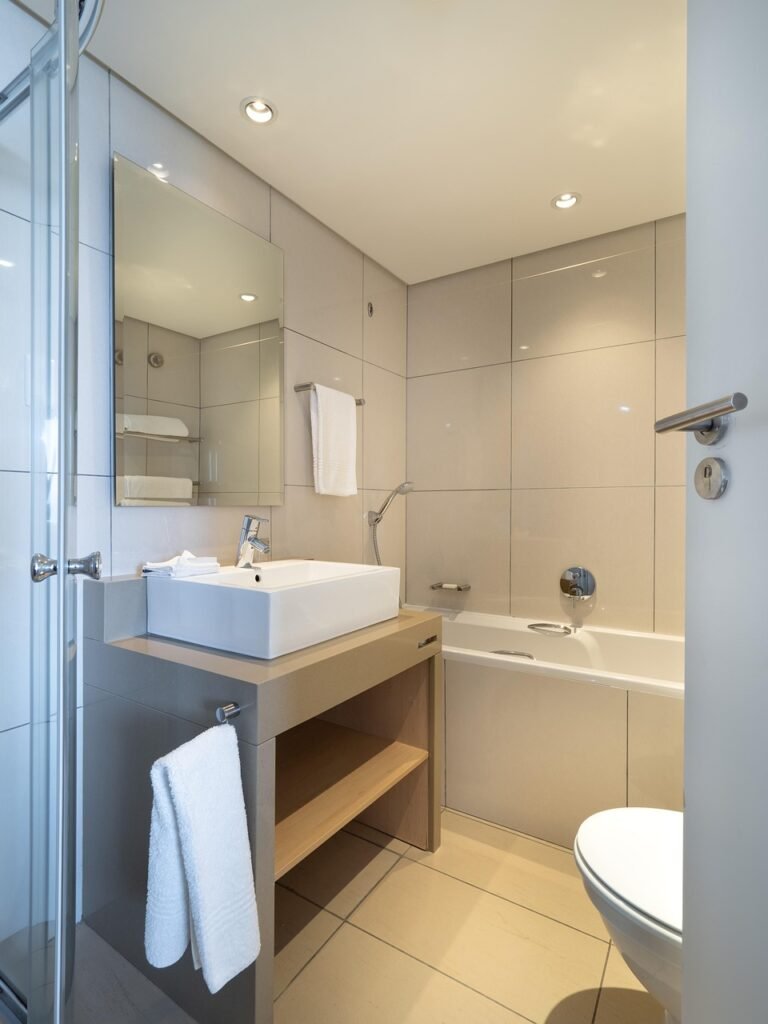
Remove Existing Toilet Seat
Using a screwdriver, unscrew the bolts that secure the existing toilet seat. Remove the seat carefully and set it aside on a soft surface to avoid any damage. Clean the toilet bowl rim thoroughly to remove any dust or residue, ensuring a smooth surface for the upcoming bidet installation. Wipe down with a disinfectant for added cleanliness before proceeding with the next steps.
Install Bidet Attachment or Seat
Position the bidet attachment or seat onto the toilet bowl, ensuring that it is centered over the opening. Align it with the bolt holes located at the back of the toilet. Secure it using the provided bolts, tightening them evenly to avoid any wobbling. Check that the attachment feels firmly in place and is level with the toilet surface for optimal comfort and functionality.
Connect Water Supply Hose
Detach the water supply hose from the toilet tank by turning it counterclockwise. Wrap Teflon tape around the threads of the bidet’s water supply hose for a secure fit. Screw the bidet’s water supply hose into the toilet tank by turning it clockwise until snug. Reconnect the toilet’s water supply hose to the bidet attachment by twisting it securely.
Turn On Water Supply
Slowly turn the water supply valve counterclockwise to restore water flow. Observe the area around the connections for any signs of leaks. If you notice any leaks, tighten the connections gently but firmly to stop the leakage. Continue checking for leaks after adjusting to ensure everything is secure.
Test the Bidet Functionality
Test the bidet’s functionalities by turning on the water supply and activating the bidet. Adjust the water pressure settings until you find a comfortable level that suits you. Next, modify the temperature settings to your liking, ensuring the water feels just right. Observe the bidet’s spray patterns and aim to confirm that everything is functioning properly without any leaks or irregularities.
Secure Any Loose Connections
Inspect all connections thoroughly after testing for any leaks. Tighten any loose fittings or connections you find, ensuring they are secure and snug. Pay special attention to joints, valves, and hoses, as these are common areas where leaks can occur. Remember, a meticulous inspection now can save you from potential problems down the road, so take your time and double-check everything!
Clean Up the Area
Wipe down any water spills immediately to prevent slips and maintain a tidy environment. Remove all tools and materials used during the installation, placing them back in their designated storage areas. Check the bathroom for any stray items, ensuring everything is in its proper place. Confirm that the space is organized and safe for use, promoting a clean and welcoming atmosphere.
Read the Manufacturer's Instructions
Refer to the manufacturer’s instructions for specific maintenance tips and usage guidelines. Explore the features of your new bidet by reading the provided documentation thoroughly. Identify key functions such as temperature control, water pressure adjustment, and nozzle positioning. Familiarize yourself with any cleaning recommendations to ensure your bidet remains in excellent condition for years to come.
Final Steps for Success
In conclusion, installing a bidet in your apartment is not only a simple endeavor but also a rewarding one. By following the steps outlined in this guide, you can elevate your bathroom experience while promoting better hygiene and making an eco-friendly choice. So go ahead, take the plunge, and enjoy the numerous benefits that a bidet can bring to your daily routine!
Essential Supplies List

Essential Installation Hacks
Essential Steps for a Smooth and Efficient Bidet Installation
- Choose the Right Bidet: Start by selecting the type of bidet that suits your needs, whether it’s a standalone unit, a bidet seat, or a handheld sprayer. Make sure it’s compatible with your bathroom setup
- Gather Your Tools: Before you begin, gather all the necessary tools, such as a wrench, pliers, a screwdriver, and Teflon tape. Having everything on hand will make the installation smoother
- Turn Off the Water Supply: Safety first! Locate the shut-off valve for your toilet, and turn off the water supply to avoid any leaks or spills during the installation process
- Follow the Instructions: Each bidet model comes with specific installation instructions. Take your time to read through them carefully and follow the steps to ensure proper setup
- Check for Leaks: After installation, turn the water supply back on and check for any leaks around the connections. If you notice any, tighten the fittings gently until secure
- With these tips, you’ll be well on your way to enjoying your new bidet! Happy installing!

This guide is super helpful! I installed a TUSHY Classic and it’s made such a difference! I love how eco-friendly it is compared to toilet paper. Definitely recommend!
Glad to hear you’re enjoying your TUSHY Classic! It’s amazing how much of a difference it makes, both for personal comfort and the environment!
Just installed the Bio Bidet BB-600 and it’s been a game changer! The guide was super helpful, especially when it came to connecting the water supply. I was worried it would be messy, but it went really smoothly! Anyone else loving their new bidet?
Anyone have tips for installing a bidet with a low water pressure situation? I’m a bit worried it won’t work as well. Would love any advanced tips!
Great question! For low water pressure, you might consider a bidet with a pressure booster feature. Also, make sure your fittings are tight to prevent any leaks.
I followed every step and installed an American Standard bidet seat last weekend! It was easier than I thought it’d be. The hardest part was removing my old toilet seat, but once I got past that, it was smooth sailing. So glad I made the switch!
Fantastic to hear you had a smooth installation! Removing the old seat can be tricky, but it sounds like you handled it like a pro. Enjoy your new bidet!
After following this guide, I successfully installed a Luxe Bidet Neo 120 in my apartment! It took me just about an hour and I didn’t need any professional help. Game changer for my morning routine!
Awesome to hear! The Luxe Bidet Neo 120 is a fantastic option. It’s great to know our guide was useful for you!
Thanks for sharing your experience! The Bio Bidet BB-600 is definitely a popular choice. We’re glad the guide helped you with the installation!